final version of a script with instructions for camera operators
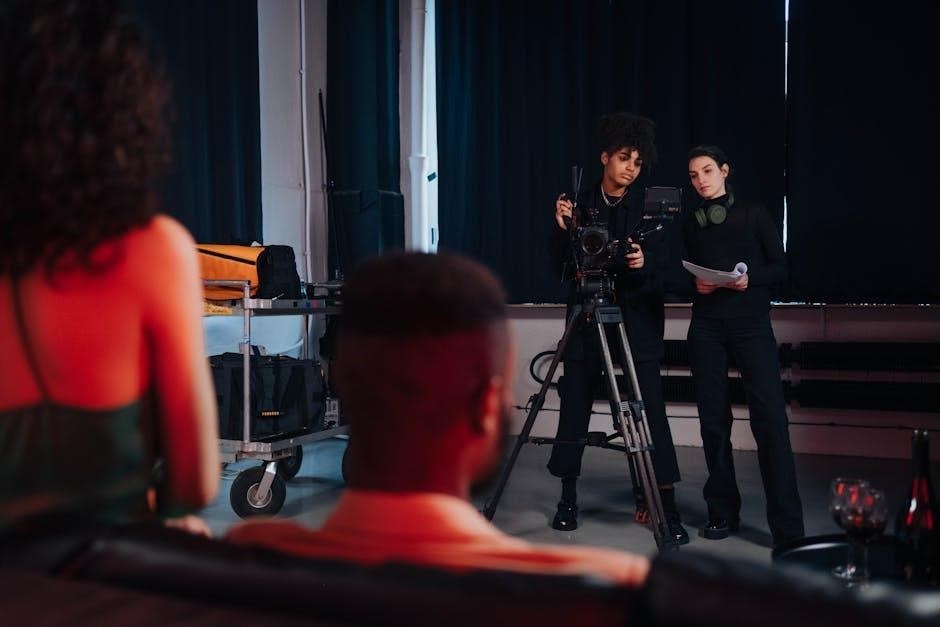
A script structure serves as a blueprint for visual storytelling, outlining scenes, shots, and transitions. It includes technical instructions for camera operators, such as lighting setup and camera angles.
Understanding the Final Script Format
The final script format is a detailed document outlining every aspect of production, including scene descriptions, dialogues, and technical instructions. It provides clear guidelines for camera operators, such as shot specifications and lighting requirements. The script is structured into acts or scenes, with each section detailing camera angles, movements, and transitions. Formatting standards ensure readability, with distinct sections for visual and auditory elements. This document serves as the blueprint for translating the narrative into visual storytelling, ensuring precision and alignment among the production team.
Camera Angles and Shots
Camera angles and shots are crucial for visual storytelling, guiding operators on framing and composition. They include close-ups, wide shots, and medium shots to capture the scene’s essence effectively.
Close-Ups, Medium Shots, and Wide Shots
Close-ups capture detailed emotions and textures, emphasizing a subject’s face or object. Medium shots frame the subject within a context, balancing detail and environment. Wide shots provide broader perspectives, showcasing settings and action. Each shot type serves a specific narrative purpose, guiding camera operators to align framing with the director’s vision and enhance storytelling. Proper use ensures visual coherence and emotional impact, making these shot types essential tools in cinematic expression.
Static Shots, Tracking Shots, and Dolly Movements
Static shots remain fixed, capturing scenes without camera movement, ideal for emphasizing dialogue or details. Tracking shots follow subjects dynamically, creating a sense of motion and engagement. Dolly movements smoothly advance or retreat the camera, altering depth and focus. These techniques guide camera operators to convey emotion, establish context, and maintain visual flow. Each movement type enhances storytelling by aligning with the director’s intent, ensuring scenes are visually compelling and emotionally resonant.
Lighting Instructions
Lighting instructions guide camera operators on setup, intensity, and placement to create the desired visual atmosphere. Proper lighting enhances depth, mood, and scene authenticity, ensuring cinematic quality.
Natural Lighting vs. Artificial Lighting Setup
Natural lighting leverages available light sources like sunlight for a realistic feel, while artificial lighting uses fixtures to control intensity and direction. Both setups are crucial for creating the desired mood and visual consistency in scenes. Proper application of either ensures optimal visibility and enhances the story’s emotional impact, guiding the camera operator to achieve the director’s vision effectively.
Lighting Adjustments for Mood and Atmosphere
Lighting adjustments are critical for establishing the emotional tone of a scene. By modifying intensity, color, and shadow placement, camera operators can create tension, serenity, or drama. Soft, diffused light often evokes calmness, while harsh, directional light can heighten tension. These adjustments, guided by the script, ensure visual consistency and enhance the story’s emotional depth, aligning with the director’s vision for each scene’s atmosphere and mood.
Camera Movement Instructions
Camera movements guide the visual narrative, with instructions like slow zooms, pans, and tilts used to emphasize action or emotion, enhancing storytelling and audience engagement dynamically.
Slow Zooms, Pans, and Tilt Shots
Slow zooms emphasize emotional moments or reveal details, while pans and tilts dynamically shift focus. These movements guide audience attention, creating depth and mood. Lighting and composition are key.
Handheld vs. Steadicam Shots
Handheld shots create a dynamic, immersive feel, ideal for capturing raw emotion or chaos, while Steadicam shots provide smooth, stabilized movement. Handheld is often used in action or emotional scenes, offering a gritty, realistic vibe. Steadicam, however, is perfect for tracking shots, maintaining stability even in complex movements. Both techniques enhance storytelling by guiding audience focus and evoking specific moods. Operators must choose based on the scene’s tone and desired visual impact to ensure seamless execution and visual coherence. Proper equipment setup and practice are essential for achieving professional results.
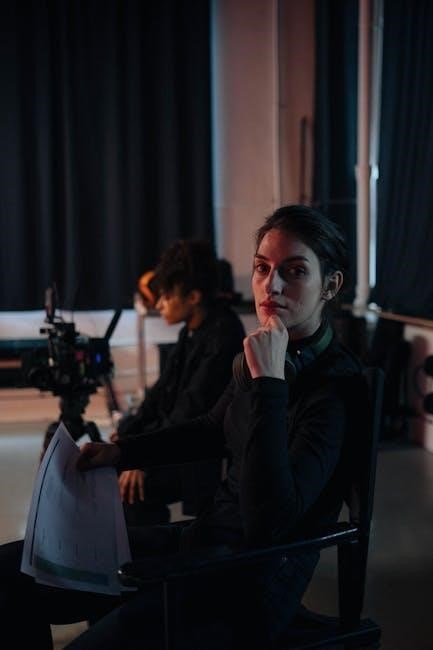
Communication and Coordination
Effective communication ensures synchronization between the director, camera operators, and crew. Clear instructions and feedback are essential for achieving the desired visual and storytelling goals seamlessly.
Director-Camera Operator Collaboration
Collaboration between the director and camera operator is crucial for executing the script’s vision. They discuss shot composition, lighting, and movement to align creatively. Clear communication ensures technical execution matches artistic intent, while feedback loops refine pacing and focus. This teamwork ensures seamless translation of the script into visuals, maintaining the story’s emotional depth and visual coherence.
Scene Transitions and Continuity
Scene transitions ensure a smooth flow between shots, using techniques like visual cues or audio overlaps. Continuity maintains consistency in action and timing for a cohesive narrative.
Smooth Transitions Between Scenes
Smooth transitions maintain continuity, ensuring seamless shifts between scenes. Techniques include fade-ins, fade-outs, and hard cuts. These methods guide the audience without disrupting the narrative flow, enhancing visual storytelling.

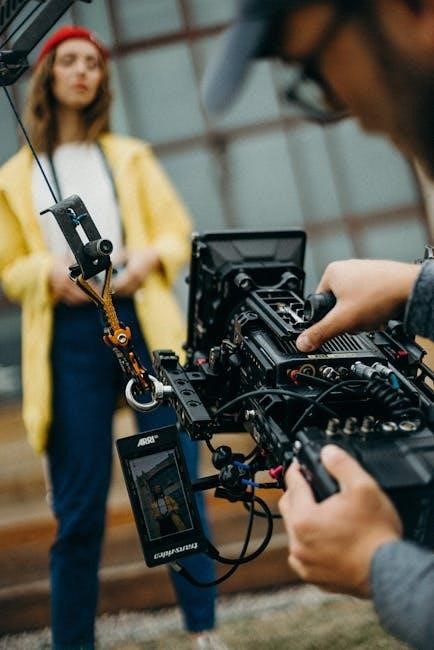
Equipment Specifications
Recommended camera models include Arri Alexa and RED V-Raptor. Essential accessories are high-quality lenses, tripods, gimbals, and external monitors for precise camera operation and stability.
Recommended Camera Models and Accessories
For professional filming, high-end cameras like the Arri Alexa or RED V-Raptor are ideal. Pair these with ultra-wide-angle lenses, telephoto zooms, and prime lenses for versatility. A sturdy tripod, fluid-head pan-tilt, and gimbal stabilizer ensure smooth motion. External monitors provide accurate framing and focus checks. Additional accessories include neutral density filters, matte boxes, and high-capacity memory cards. These tools collectively enhance image quality, flexibility, and efficiency during production, ensuring the script’s visual goals are met effectively.
Timing and Pacing
Timing cues in the script guide camera operators on shot duration and scene transitions. Proper pacing ensures the narrative unfolds smoothly, maintaining viewer engagement and emotional impact.
Timing Cues in the Script
Timing cues in the script are essential for synchronizing camera movements and scene transitions. These cues specify shot durations, pauses, and the rhythm of actions. They ensure that the pacing aligns with the narrative’s emotional tone, guiding camera operators to capture moments precisely. For example, a slow zoom might be timed to match dialogue delivery, while quick cuts are used for dynamic sequences. Accurate timing ensures a seamless visual flow, keeping the audience engaged and immersed in the story. Proper timing cues enhance the overall storytelling experience.

Review and Revisions
The review process ensures the script aligns with visual goals, clarifying instructions for camera operators. Revisions refine timing, lighting, and shot sequences to enhance storytelling and technical accuracy.
Post-Review Adjustments
After reviewing the script, adjustments are made to refine camera instructions, ensuring clarity and precision. This step involves tweaking lighting cues, shot framing, and timing to align with the director’s vision. Any ambiguities in operator instructions are resolved, and feedback is incorporated to enhance the visual execution. These adjustments ensure the final script is both technically accurate and artistically cohesive, ready for production.
Final Delivery and Output
The final script is exported in a standardized format, ensuring compatibility with production software. It includes resolution settings and file formatting for seamless execution.
Exporting and Formatting the Final Footage
Exporting involves converting the edited footage into a suitable format for distribution. Common formats include MP4 and ProRes, ensuring compatibility across various platforms. Resolution settings like 4K or 1080p are selected based on the intended use; Audio levels are normalized to ensure clarity. Metadata, such as timestamps and scene markers, is embedded for easy reference. The final output is reviewed for quality before being delivered to the production team or clients, ensuring all technical specifications are met.