user manual crib

Safety Instructions for Crib Assembly and Use
Always follow safety guidelines when assembling and using the crib to ensure your child’s safety. Keep the crib away from windows with cords or drapes to prevent entanglement hazards; Use only the recommended mattress size and avoid plastic mattress covers to reduce suffocation risks. Never leave loose bedding or soft toys inside the crib. Regularly inspect the crib for loose joints or damaged parts. Ensure all locking mechanisms are securely fastened before use. Follow the manufacturer’s instructions for assembly and maintenance to guarantee stability and safety. Avoid using non-original spare parts, and contact the manufacturer for any missing or damaged components. Always supervise your child when they are in or near the crib.
1.1. General Safety Warnings
Always prioritize your child’s safety by adhering to essential guidelines. Ensure the crib is placed away from windows with blinds or drapes, as cords can pose a strangulation hazard. Never use plastic mattress covers, as they increase the risk of suffocation. The mattress must fit snugly, with no gaps between it and the crib sides. Avoid placing loose bedding, pillows, or soft toys inside the crib to prevent accidental suffocation. Regularly inspect the crib for loose joints, damaged parts, or instability, and address any issues immediately. Do not use non-original spare parts, as they may compromise safety. Follow the manufacturer’s instructions for assembly, maintenance, and use to ensure the crib remains stable and secure. Keep the crib away from heaters, electrical appliances, and any flammable materials. Supervise your child during use, and ensure the crib is assembled correctly before placing your child inside.

1.2. Crib Positioning and Placement Guidelines
Position the crib in a safe and stable location to ensure your baby’s well-being. Place the crib away from windows to avoid entanglement hazards from blind cords or drapes. Maintain a distance of at least 12 inches from heaters, radiators, or electrical appliances to prevent burns or electrical hazards. Keep the crib at least one foot away from walls and furniture to avoid trapping or injury risks. Avoid positioning the crib near lamps or direct sunlight, as it can create hot surfaces or UV exposure. Ensure the floor is level and sturdy to prevent wobbling. Place the crib in a well-ventilated, dry area, avoiding damp environments like basements. Keep the crib away from noisy areas to promote a quiet sleep environment. Regularly check the crib’s placement to ensure it remains safe and stable, providing a secure space for your baby to sleep.
1.3. Mattress Size and Safety Requirements
The mattress must meet specific safety standards to ensure your baby’s safety. It should be at least 27-1/4 inches by 51-5/8 inches in size and no thicker than 6 inches. The mattress must fit snugly within the crib, leaving no gaps between the mattress and the crib sides. Use a firm, tight-fitting mattress cover and avoid plastic covers, as they can pose suffocation risks. Ensure the mattress is designed for cribs and meets ASTM and CPSC safety standards. A metal spring support platform is recommended to provide proper mattress stability. Always check for any signs of wear or damage on the mattress and replace it if necessary. Keep bedding minimal and avoid loose items like pillows or blankets to reduce the risk of SIDS. Regularly inspect the mattress for proper fit and alignment within the crib frame to ensure a safe sleeping environment for your baby.
1.4. Maintenance and Cleaning Directions
Regular maintenance and proper cleaning are essential to ensure the crib remains safe and durable. Inspect the crib frequently for loose joints, damaged parts, or wear and tear. Tighten any loose screws or bolts immediately to prevent instability. For cleaning, use a soft, damp cloth to wipe down all surfaces, avoiding harsh chemicals or abrasive cleaners that could damage the finish. Dry the crib thoroughly after cleaning to prevent moisture buildup. Do not use bleach or strong detergents, as they may harm the materials or leave residues. For metal parts, such as the spring support platform, use a mild soap solution and rinse thoroughly. Avoid exposing the crib to excessive humidity or direct sunlight, which can cause warping or discoloration. Store any cleaning products out of your child’s reach. If using a crib with fabric components, follow the manufacturer’s washing instructions. Always ensure the crib is completely dry before placing your child inside to prevent any risk of mold or mildew. Regularly vacuum and dust the crib to keep it free from allergens and debris. By following these maintenance and cleaning guidelines, you can ensure a safe and hygienic environment for your baby.

Assembly Instructions for the Crib
Begin by unboxing and inventorying all parts. Attach crib ends using wood dowels and bolts, ensuring they are securely fastened. Next, assemble the side rails and connect them to the crib ends. Finally, attach the mattress base and ensure all locking mechanisms are tightly secured for stability. Follow the step-by-step guide provided for precise assembly.
2.1. Unboxing and Inventory of Parts
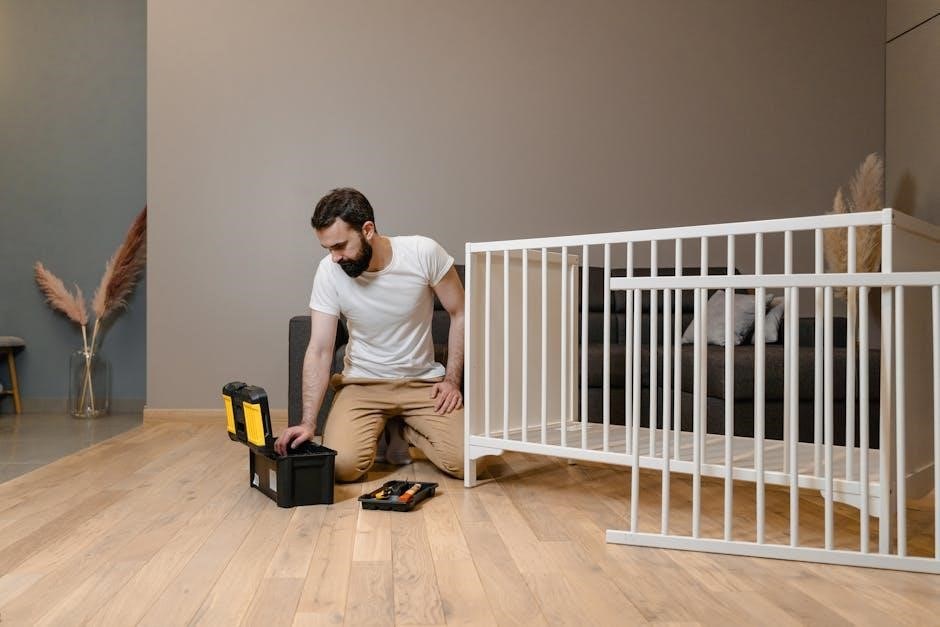
Start by carefully unboxing the crib components and laying them out on a flat surface. Check the contents against the parts list in the manual to ensure all items are included and undamaged. Typically, the package includes two crib ends, side rails, bolts, dowels, and various panels. Organize the hardware separately, such as screws, Allen wrenches, and dowels, to avoid misplacement.
- Crib Ends (2)
- Side Rails (2)
- Bolts and Dowels
- Back and Bottom Panels
- Metal Spring Support Platform
Before proceeding, verify that no parts are missing or damaged. If any components are incomplete or faulty, contact the manufacturer immediately. Gather the necessary tools, such as a screwdriver or Allen wrench, as specified in the manual. Properly organizing and verifying all parts ensures a smooth assembly process. If you notice any discrepancies, refer to the troubleshooting section or contact customer support for assistance.
2.2. Attaching Crib Ends and Rails
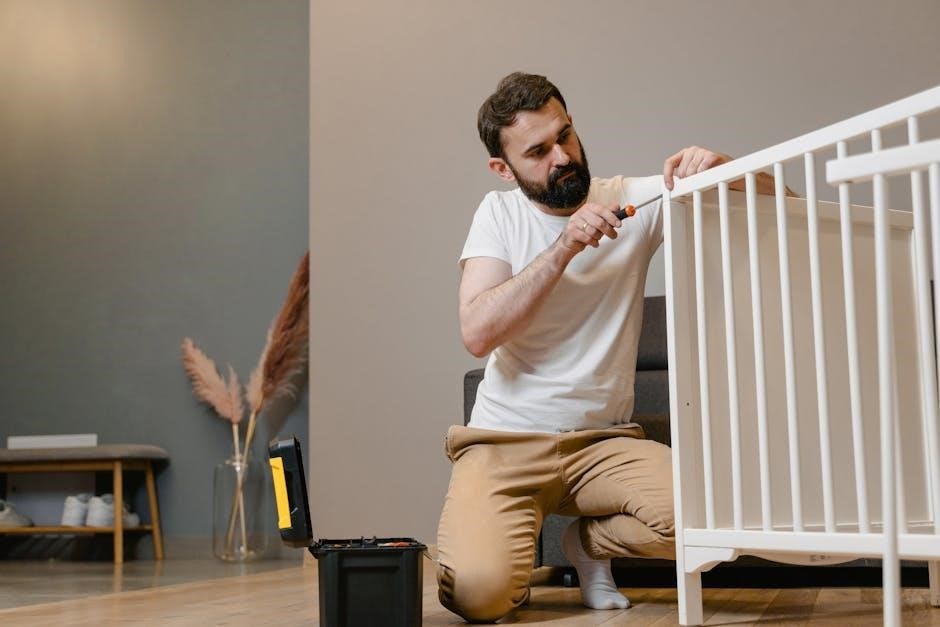
To attach the crib ends and rails, begin by placing one crib end on a flat surface; Align the side rail with the crib end, ensuring the pre-drilled holes match up. Insert the wood dowels into the holes on the crib end and side rail, then secure them with the provided bolts. Tighten the bolts firmly using a screwdriver or wrench to ensure stability. Repeat this process for the opposite crib end and rail.
Next, attach the back and bottom panels to the assembled crib ends and rails. Use the screws provided to secure these panels tightly. Make sure all connections are snug and even to prevent any wobbling. Double-check that all bolts and screws are properly tightened before moving on to the next step.
If any parts seem loose or misaligned, refer to the troubleshooting section or contact the manufacturer for assistance. Proper alignment and secure fastening are crucial for the crib’s stability and safety.
2.3. Securing the Mattress Base
Once the crib frame is assembled, carefully place the wooden mattress base (J) into the crib. Ensure the base aligns perfectly with the crib’s sides and bottom supports. Use the dowels and bolts provided to secure the mattress base to the crib frame. Tighten all bolts firmly to prevent any movement or instability.
After securing the mattress base, double-check its alignment and ensure it fits snugly within the crib. Properly attaching the mattress base is crucial for the crib’s structural integrity and your child’s safety. If you encounter any issues during this step, refer to the troubleshooting section for guidance on loose joints or misaligned parts. Always ensure all connections are secure before placing a mattress in the crib.

Converting the Crib into a Day Bed
Remove the wooden mattress base (J) and detach both crib ends (H and I). Use the front panel as the footboard and the rear panel as the headboard. Connect the panels using a standard Hollywood frame for stability to complete the day bed setup.
3.1. Removing the Mattress Base
To remove the mattress base, start by taking out any bedding or mattress from the crib. Ensure the area around the crib is clear to avoid tripping or damaging the components. Locate the mattress base, typically labeled as part (J), which is usually secured with bolts or clips. Use the provided Allen wrench or screwdriver to loosen and remove the fasteners holding the base in place. Gently lift the mattress base upward, taking care not to apply excessive force, which could damage the crib frame. Once removed, set the base aside in a safe location to prevent accidental damage or misplacement. Ensure all hardware, such as bolts or clips, are stored securely for later use. If unsure about the process, refer to the manufacturer’s manual for specific instructions. This step is essential for converting the crib into a day bed, as the mattress base is no longer needed in the day bed configuration.
3.2. Detaching Crib Ends
To detach the crib ends, begin by removing any bedding or accessories from the crib. Ensure the area around the crib is clear to prevent tripping or damage. Locate the crib ends, typically labeled as parts (H) for the left end and (I) for the right end. These are usually secured with bolts or clips at the top and bottom rails. Use the provided Allen wrench or screwdriver to loosen and remove the fasteners. Gently pull the crib ends away from the frame, working from one side to the other. If the ends are stubborn, wiggle them slightly to dislodge any remaining connections. Once detached, set the crib ends aside in a safe location to avoid accidental damage. Ensure all hardware, such as bolts or clips, are stored securely for later use. Detaching the crib ends is a crucial step in converting the crib into a day bed, as it allows for the reconfiguration of the frame.
3.3. Assembling the Day Bed Frame
Once the crib ends and mattress base are removed, prepare the components for the day bed frame. Use the front panel as the footboard and the rear panel as the headboard. Align these panels with the sides of the crib frame, ensuring they fit securely. Connect the front and rear panels using a standard Hollywood frame, which is typically provided separately. Bolt the panels to the frame using the hardware from the crib ends, ensuring all connections are tight and stable. Double-check that all joints are secure to prevent wobbling. Place the mattress on the newly assembled day bed frame, making sure it fits perfectly without gaps. Tighten all bolts and screws to ensure the frame is sturdy. Finally, inspect the entire structure for stability and safety before use. This step completes the transformation of the crib into a functional day bed, ready for everyday use. Always follow the manufacturer’s guidelines for assembly.
3.4. Connecting Panels for Stability
After assembling the day bed frame, connect the front and rear panels to ensure stability. Align the front panel with the footboard and the rear panel with the headboard, attaching them securely to the frame. Use the bolts and screws provided to fasten these panels tightly. Ensure all connections are snug and even to prevent the frame from wobbling. Double-check that the panels are properly aligned and flush with the edges of the frame for a seamless fit. Once connected, gently shake the frame to verify stability and make any necessary adjustments. For added support, ensure all hardware is tightened firmly. The panels should be securely attached to prevent any movement or shifting. This step is crucial for maintaining the structural integrity of the day bed. Follow the manufacturer’s instructions for specific bolting patterns and torque requirements. Properly connected panels will ensure a safe and sturdy day bed for years to come.

Parts and Accessories for the Crib
The crib includes essential components like crib ends, dropside rails, back and bottom panels, and a metal spring support platform. These parts ensure stability and safety when assembled correctly;
4.1. Crib Ends and Dropside Rails
The crib ends are the vertical sides of the crib that provide structural support and safety. They are typically made of durable materials like wood or metal and feature decorative designs. The dropside rails are the horizontal bars that run across the top and bottom of the crib ends, ensuring the crib’s stability. These components are crucial for maintaining the crib’s integrity and preventing collapse. Always ensure that the crib ends are securely attached to the rails during assembly. The dropside rails should be tightly fitted to avoid any gaps or weak points. Regularly inspect the crib ends and rails for any signs of damage or wear. If any part is loose or broken, contact the manufacturer for replacement. Proper alignment and secure fastening of these parts are essential to guarantee your child’s safety while sleeping or playing in the crib.
4.2. Back and Bottom Panels
The back and bottom panels are essential components of the crib, providing structural support and ensuring the safety of your child. The back panel is typically a solid or slatted piece that attaches to the crib ends, while the bottom panel is usually a metal spring support platform. These panels work together to maintain the crib’s stability and prevent collapse. The back panel should be securely fastened to the crib ends using the provided bolts or screws. The bottom panel must be properly aligned and attached to ensure the mattress fits snugly and remains level. Always follow the manufacturer’s instructions for assembling and securing these panels. Regularly inspect the panels for any signs of damage or wear. If any part is loose or broken, contact the manufacturer for replacement. Proper installation and maintenance of these panels are critical to ensuring the crib’s durability and your child’s safety.
4.3. Metal Spring Support Platform

The metal spring support platform is a critical component of the crib, providing essential structural integrity and support for the mattress. This platform is typically made of durable metal and is designed to fit snugly within the crib frame. It ensures the mattress remains level and securely positioned, preventing sagging or shifting that could pose a safety hazard. The platform is usually pre-assembled but may require attachment to the crib’s bottom panel during setup. Always follow the manufacturer’s instructions for proper installation, ensuring all bolts or clips are securely fastened. Regularly inspect the platform for signs of wear, such as rust or bent wires, and replace it immediately if damage is detected. The metal spring support platform is vital for maintaining the crib’s stability and ensuring a safe sleeping environment for your child. Proper maintenance and inspection will extend its lifespan and performance.
Troubleshooting Common Issues
Common issues include loose joints, wobbly frames, or misaligned parts. Tighten all bolts and screws firmly. For missing or damaged parts, contact the manufacturer for replacements. Ensure the mattress fits snugly within the crib frame for proper alignment and safety. Regular inspections can prevent potential problems. Always refer to the manual for specific solutions. Proper maintenance ensures the crib remains stable and secure for your child. Addressing issues promptly helps maintain a safe sleeping environment.
5.1. Loose Joints or Wobbly Frames
If the crib frame feels unstable or has loose joints, inspect all connections and tighten any bolts or screws that may have come loose during assembly. Use an Allen wrench or screwdriver as specified in the manual. Ensure all parts are securely fastened to prevent wobbling. If the issue persists, check for worn or damaged hardware and replace it immediately. Regularly inspect the crib for any signs of wear or damage, especially after moving or reassembling it. For persistent instability, contact the manufacturer for replacement parts or further assistance. Always address loose joints promptly to maintain the crib’s structural integrity and ensure your child’s safety. Proper tightening and maintenance can prevent future issues. If unsure, refer to the troubleshooting section of your crib’s manual for specific guidance. Addressing loose joints early helps avoid potential hazards and ensures a sturdy sleeping environment. Regular checks are essential for long-term stability.
5.2. Missing or Damaged Parts
If any parts of the crib are missing or damaged, do not attempt to assemble or use the crib until the issue is resolved. Carefully review the parts list provided in the manual to identify any missing components. Contact the manufacturer or supplier immediately to request replacements. Damaged parts, such as broken slats or bent rails, must be replaced to ensure the crib’s structural integrity. Never substitute damaged parts with makeshift solutions or non-original components, as this could compromise safety. Regularly inspect the crib for signs of wear or damage, especially after assembly or relocation. If you notice any issues, disassemble the crib and address them promptly. Always follow the manufacturer’s guidelines for obtaining replacement parts and refer to the troubleshooting section of your manual for additional guidance. Your child’s safety depends on the crib being in optimal condition. Addressing missing or damaged parts is crucial to prevent potential hazards.
5.3. Mattress Fit and Alignment
Ensuring the mattress fits properly and is aligned correctly is essential for your child’s safety and comfort. The mattress must be specifically designed for the crib and meet the recommended size specifications, typically at least 27-1/4 inches (69 cm) by 51-5/8 inches (131 cm) with a thickness not exceeding 6 inches (15 cm). Avoid using mattresses that are too small or too thick, as this can create gaps or instability. Place the mattress snugly against the crib’s sides, ensuring there are no gaps between the mattress and the crib walls. Use a tight-fitting mattress protector or sheet to prevent shifting. Regularly inspect the mattress for signs of wear or sagging and replace it if necessary. Never add extra padding or materials that could alter the mattress’s fit. Proper alignment and fit ensure the crib remains a safe sleeping environment for your child. Always follow the manufacturer’s guidelines for mattress size and placement.

Additional Resources and Support
For additional support, visit the manufacturer’s website for downloadable manuals and product guides. Contact customer service at 888-266-2848 or visit [official website] for assistance with any questions.
6.1. Downloadable Instruction Manuals
Downloadable instruction manuals for your crib are available on the manufacturer’s official website. Simply visit the product support section and search for your crib model to access the PDF manual. Manuals include detailed assembly instructions, safety guidelines, and maintenance tips. Ensure you download the correct manual for your specific crib model, as instructions may vary. Many manufacturers, such as Graco and Babyletto, provide easy-to-follow guides for crib assembly, conversion, and troubleshooting. These manuals are designed to help you assemble and use your crib safely and efficiently. If you cannot find your crib model, contact customer support for assistance. Always refer to the official manual for accurate and reliable information to ensure your crib is assembled and used correctly. This resource is essential for maintaining safety and extending the lifespan of your crib.
6.2. Manufacturer Contact Information
For assistance with your crib, contact the manufacturer directly using the information provided in your crib’s instruction manual. Many manufacturers, such as Graco and Babyletto, offer customer support through their official websites. You can visit their websites to find contact details, including phone numbers, email addresses, and physical locations. For example, Graco’s customer service can be reached at 1-800-345-4109, while Babyletto’s support team is available through their website. LaJobi Industries, another prominent manufacturer, can be contacted at 888-266-2848 or through their office located at 257 Prospect Plains Rd, Cranbury, NJ 08512. Always ensure you have your crib model number ready when reaching out for support. Manufacturers also provide downloadable manuals and troubleshooting guides on their websites. If you have questions about assembly, maintenance, or missing parts, contacting the manufacturer directly is the best way to receive accurate and timely assistance. This ensures your crib is assembled and used safely and correctly.

By following the guidelines outlined in this manual, you can ensure the safe and proper assembly, use, and maintenance of your crib. Always prioritize your child’s safety by adhering to the safety instructions and using only recommended parts and accessories. Regular inspections and proper maintenance will extend the life of the crib and ensure its stability. If you encounter any issues or have questions, refer to the troubleshooting section or contact the manufacturer directly for support. Remember, a well-assembled and properly maintained crib provides a secure and comfortable environment for your child to grow. For additional resources, download the full instruction manual from the manufacturer’s website or visit their customer support page. With careful attention to detail and adherence to these guidelines, your crib will serve as a reliable and safe haven for years to come.